Use below steps to enable and set default Microphone (audio input device) in Windows 10.
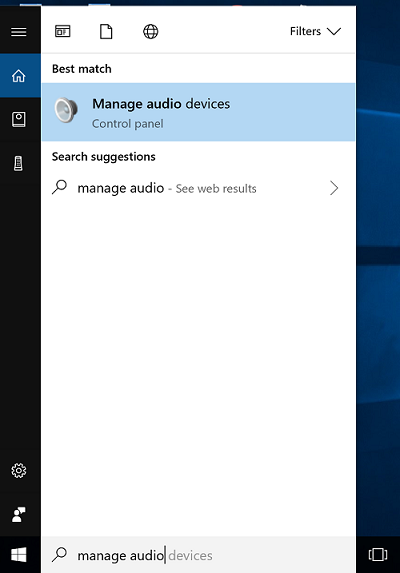
- Type "manage audio devices" in Windows Cortana search box and click 'Manage audio devices' in search results to open "Sound Settings" window.
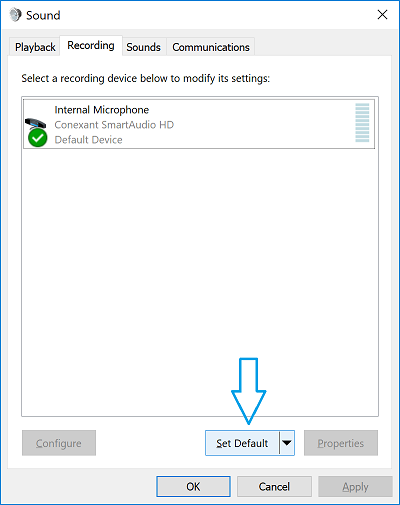
- Click on "Recording" tab in Sound Settings window to see all of your connected audio input devices.
Right click on Sound Settings dialog and select "Show Disabled Devices" option to see disabled Microphone (audio input) devices.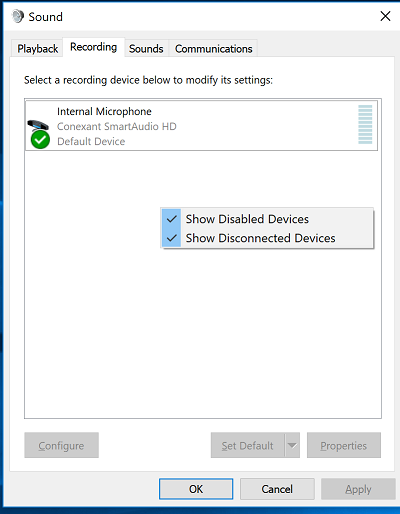
- Right click on Microphone device that you want to Enable and click "Enable" to enable the Microphone.
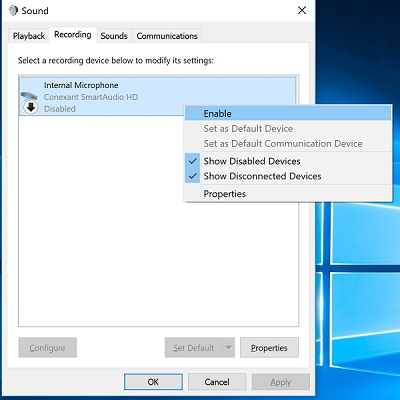
- Select Microphone device and click on "Set Default" button to set selected Microphone as default Microphone on your computer.
