Learn how to use and configure a Raspberry Pi for different projects. Follow these tips and tricks to make the most out of your Raspberry Pi.
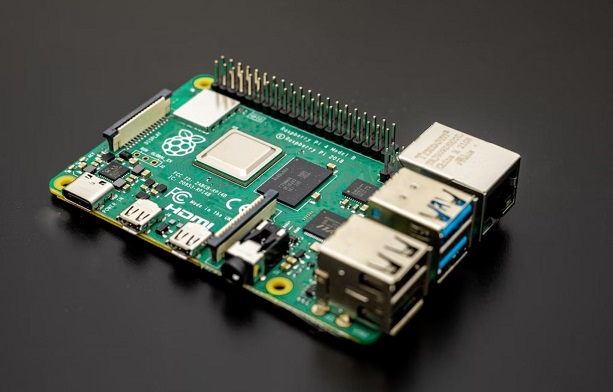
Raspberry Pi is a small single-board computer that has gained a lot of popularity over the years. It can be used for a variety of projects, ranging from simple DIY projects to complex IoT applications. In this article, we will cover some tips and tricks on how to use and configure a Raspberry Pi for various projects. The first step in using a Raspberry Pi is choosing the right model for your project. There are various Raspberry Pi models available in the market, each with different specifications and capabilities. For simple projects, you can use a Raspberry Pi Zero or Raspberry Pi 1, while for more complex projects, you can use Raspberry Pi 4 or Raspberry Pi 400. It's also essential to consider the RAM and storage capacity of your Raspberry Pi, depending on your project's requirements. For example, if you're planning to use your Raspberry Pi as a media center, you'll need a larger storage capacity to store your media files. Once you have chosen the right Raspberry Pi model, the next step is to install an operating system. Raspberry Pi supports various operating systems, including Raspbian, Ubuntu, and Kali Linux. Raspbian is the most popular operating system for Raspberry Pi and is specifically designed for beginners. You can download the operating system of your choice from the official Raspberry Pi website and burn it to an SD card using the Raspberry Pi Imager tool. Once you have installed the operating system, you can connect your Raspberry Pi to a monitor, keyboard, and mouse and boot it up. After installing the operating system, you need to configure your Raspberry Pi to suit your project's requirements. The first thing you should do is change the default password of your Raspberry Pi to a secure one. You should also change the hostname of your Raspberry Pi to a unique name to avoid conflicts on your network. You can also configure the network settings of your Raspberry Pi, such as setting up a static IP address or connecting to a Wi-Fi network. You can also enable SSH access to your Raspberry Pi, which allows you to remotely access your Raspberry Pi from another device. Raspberry Pi has GPIO (General Purpose Input Output) pins that allow you to connect various sensors and devices to your Raspberry Pi. You can use these pins to control LEDs, motors, and other components of your project. You can find the pinout diagram for your Raspberry Pi model on the official Raspberry Pi website. Before using the GPIO pins, it's important to understand how they work and their electrical characteristics. You can find many tutorials and resources online that can help you get started with using GPIO pins. To use the GPIO pins, you'll need to write code in a programming language such as Python, C, or Java. There are many libraries available for these programming languages that make it easy to control the GPIO pins of your Raspberry Pi. Now that you have installed and configured your Raspberry Pi, you can start using it for various projects. Here are some project ideas that you can try: With Raspberry Pi, the possibilities are endless. You can use it for anything from simple DIY projects to complex IoT applications. All you need is creativity and some programming skills. Using and configuring a Raspberry Pi for various projects can seem daunting at first, but with the right guidance and resources, it can be a fun and rewarding experience. By following the tips and tricks in this article and exploring the links provided, you can make the most out of your Raspberry Pi and turn it into a versatile and powerful tool for your projects.Introduction
Choosing the Right Raspberry Pi Model
Installing an Operating System
Configuring Your Raspberry Pi
Using GPIO Pins
Using Raspberry Pi for Various Projects
Conclusion


