When you install or upgrade to Windows 10, Windows installation moves existing Windows files that may conflict with Windows 10 installation to Windows.old folder on your computer disk. These files and temporary installation files are used if you want to restore your computer to previous version of Windows. If you are sure you never want to restore your computer to previous version of Windows, you can delete these files to free up few GBs of disk space on your computer.
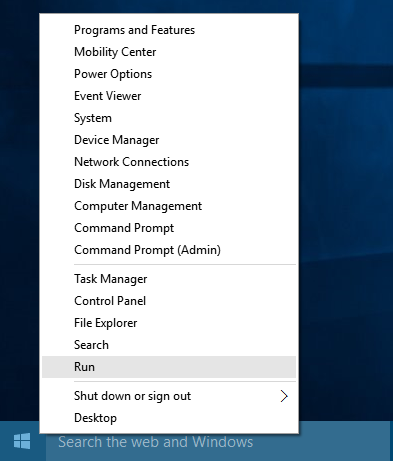
- Right click on start menu and click on "Run" in pop-up menu to open Windows Run App. You can also use "Windows + R" shortcut to open Run App.
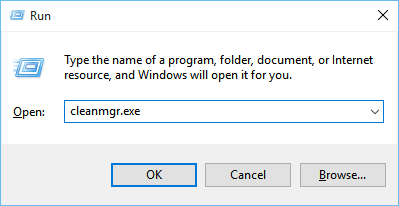
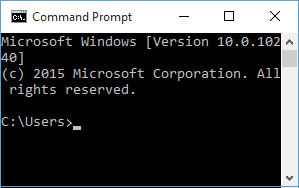
- Type cleanmgr.exe in Run App and click "OK" to open Disk Cleanup Wizard.
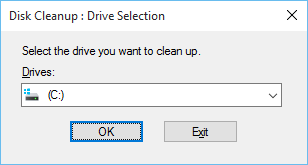
- In "Disk Cleanup: Drive Selection" dialog, select Drive from your computer where you have installed Windows 10, and Click on OK.
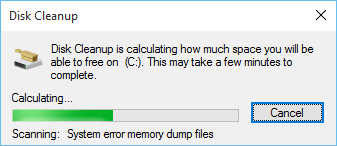
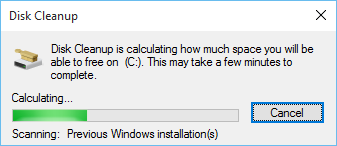
- Disk cleanup will now check your selected Drive to see how much space can be made free.
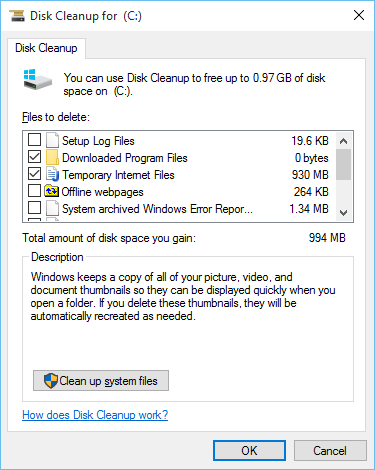
- After check is completed, disk cleanup dialog will show amount of disk space that you can free up by deleting temporary files or downloaded files, etc..
Click on "Clean up system files" button at lower side of this dialog to start check for system files which can be deleted. - Select your Windows 10 installation drive in Drive Selection dialog and click on OK. This will check your drive for system files like previous Windows installation files and temporary Windows installation files.
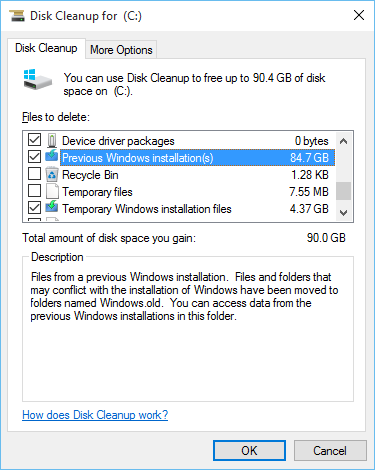
- After check is completed, Disk cleanup dialog will show different system files that you can clean up to free disk space on your computer.
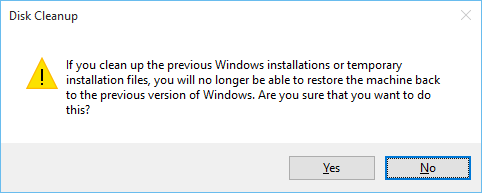
Select "Previous Windows installation(s)" and "Temporary Windows installation files" under "Files to delete" and click on OK. - A prompt will be displayed reminding you that you won't be able to restore your computer to previous version of Windows if you clean up these files. Confirm by clicking on "Yes" if you are sure you don't want to restore back to previous versions of Windows.
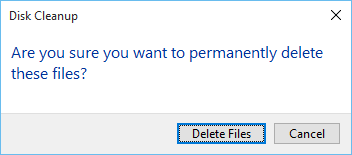
If you are not sure click on "No" to exit Wizard. - Confirm again by clicking on "Delete Files" button in Disk Cleanup dialog.
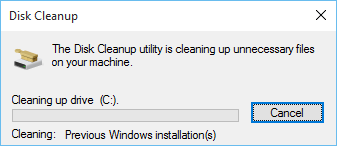
You can also Cancel here if you don't want to delete files. - This will cleanup Previous Windows installation files and temporary Windows files, and free up disk space on your computer.